
The Windows Subsystem for Linux has a degree of cross-compatibility with PowerShell, as well as being manageable from within your Windows shell. Here are some of the essential commands to know as you get set up.
The Windows Subsystem for Linux (WSL) is an incredibly powerful tool and with WSL2 it puts an actual Linux kernel on your Windows 10 PC.
WSL is almost entirely managed through the terminal. Once you have a Linux distro installed, or multiple even, managing and interacting with them through PowerShell is something you'll want to be familiar with, as it means you can carry out multiple tasks without having to flip between the distros.
Here are some of the essential commands you'll want to commit to memory.
How to enable Windows Subsystem for Linux
Before you can get WSL2, you need to have WSL. That may sound slightly strange, but the methods of enabling the first iteration and the second are quite different. But to have the newest version, you first need to have the first. There's no direct path to just installing WSL2.
We have a full guide on getting set up with the Windows Subsystem for Linux, which you should check out for a full primer on getting started, but if you're looking for the quickest route, there's a single line of code to enable it on your machine.
Open PowerShell as administrator and enter this command:
dism.exe /online /enable-feature /featurename:Microsoft-Windows-Subsystem-Linux /all /norestart
You can either reboot now or later, and if you're wanting to get WSL2 setup as well then we've got a full guide on that.
However, if you're running version 2004 of Windows 10 or later and you've installed all the latest optional updates, you can now set up WSL with a single command. Inside a PowerShell window simply type:
wsl --install
The entire process will now happen automatically.
The essential WSL commands for PowerShell
Some of the basics you need to know, especially if you're running WSL2 or a mixture of both versions include commands to manage which Linux distro runs on which version. For all of these commands, any shortened versions will only be available in Windows 10 19041 and higher, but the full versions are worth knowing anyway as they better explain exactly what you're doing.
Basics

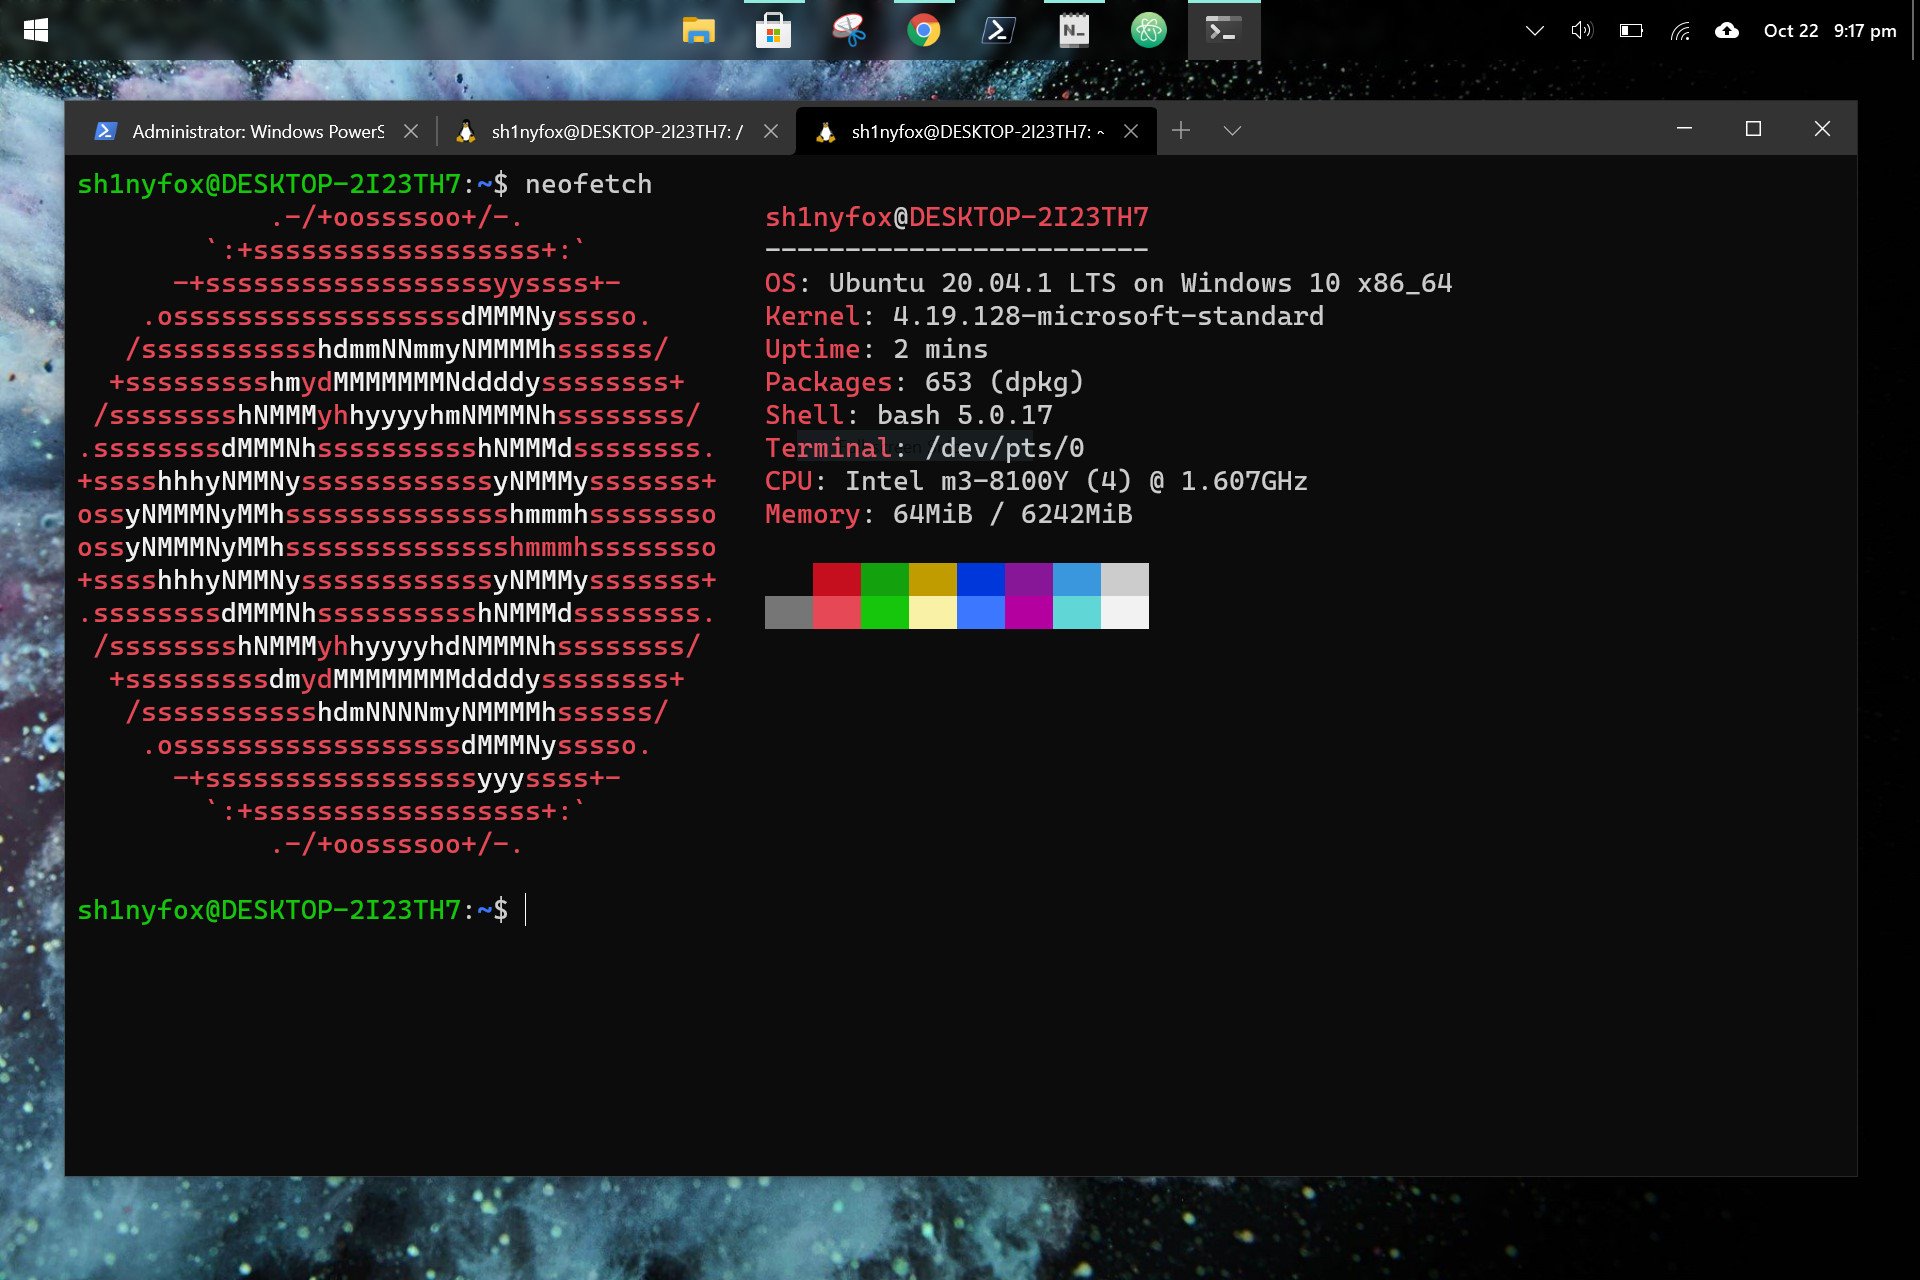
If you're inside a PowerShell window and simply want to get into your default WSL Linux distro:
wsl
Where exit will always then take you back to PowerShell. If you want to launch a specific distro then enter:
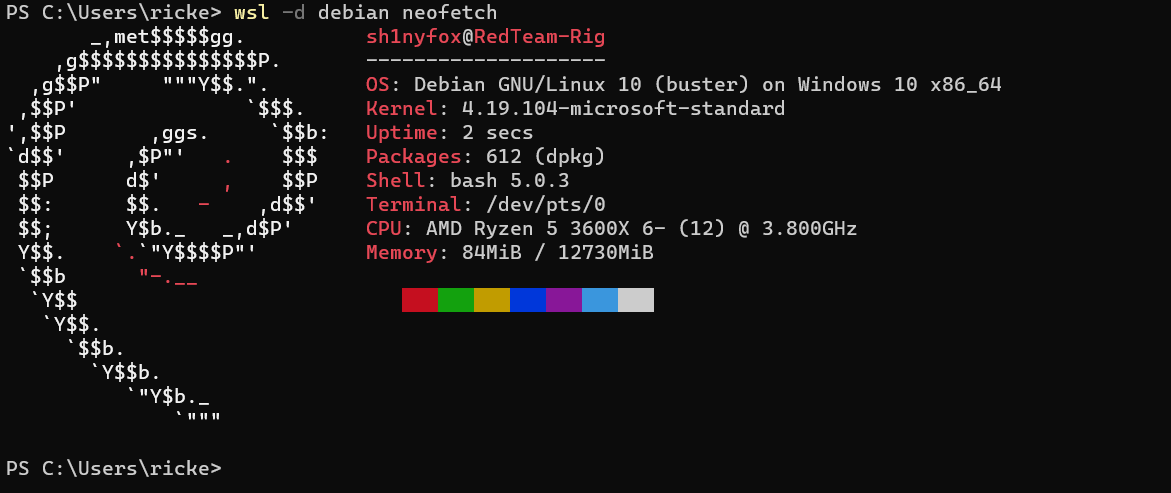
wsl -d <distribution name> so for example, to launch Debian it would be wsl -d debian
It's also worth mentioning perhaps the most useful tool of all when learning and managing WSL, and that's how to get help:
wsl --help
If you ever need a prod, this will give you a handy list in your terminal of the main commands.
Handling WSL versions

To see which version of WSL is assigned to each of your installed Linux distros:
wsl --list --verbose or wsl -l -v
The results will also show which of your versions is your default wsl distro with an asterisk. If you only want to see what distros you have installed simply remove the verbose option.
If you wish to go one step further and dictate which distro you have installed is your default, enter:
wsl --set-default <distro> or shorten to wsl -s <distro> so, for example, if you wish to set Ubuntu as default you would enter wsl -s ubuntu.
If you've made the upgrade to WSL2 and want that to be your default going forward, enter this command:
wsl --set-default-version 2
This will ensure that any future Linux installs use WSL2, but it won't convert any that you already have installed that are on WSL version 1. To do that you'll need to manually change with the command below.
To amend the version of WSL attached to a distro:
wsl --set -version <distribution name> <version> so for example, to change Debian to WSL 2 you would enter wsl --set -version Debian 2

Running commands using wsl.exe
It's possible to run execute a number of Linux commands without having to first launch into the dedicated shell. This is particularly handy for quick processes, for example running an update.
To do this you would use the template wsl <argument> <options> <commandline>
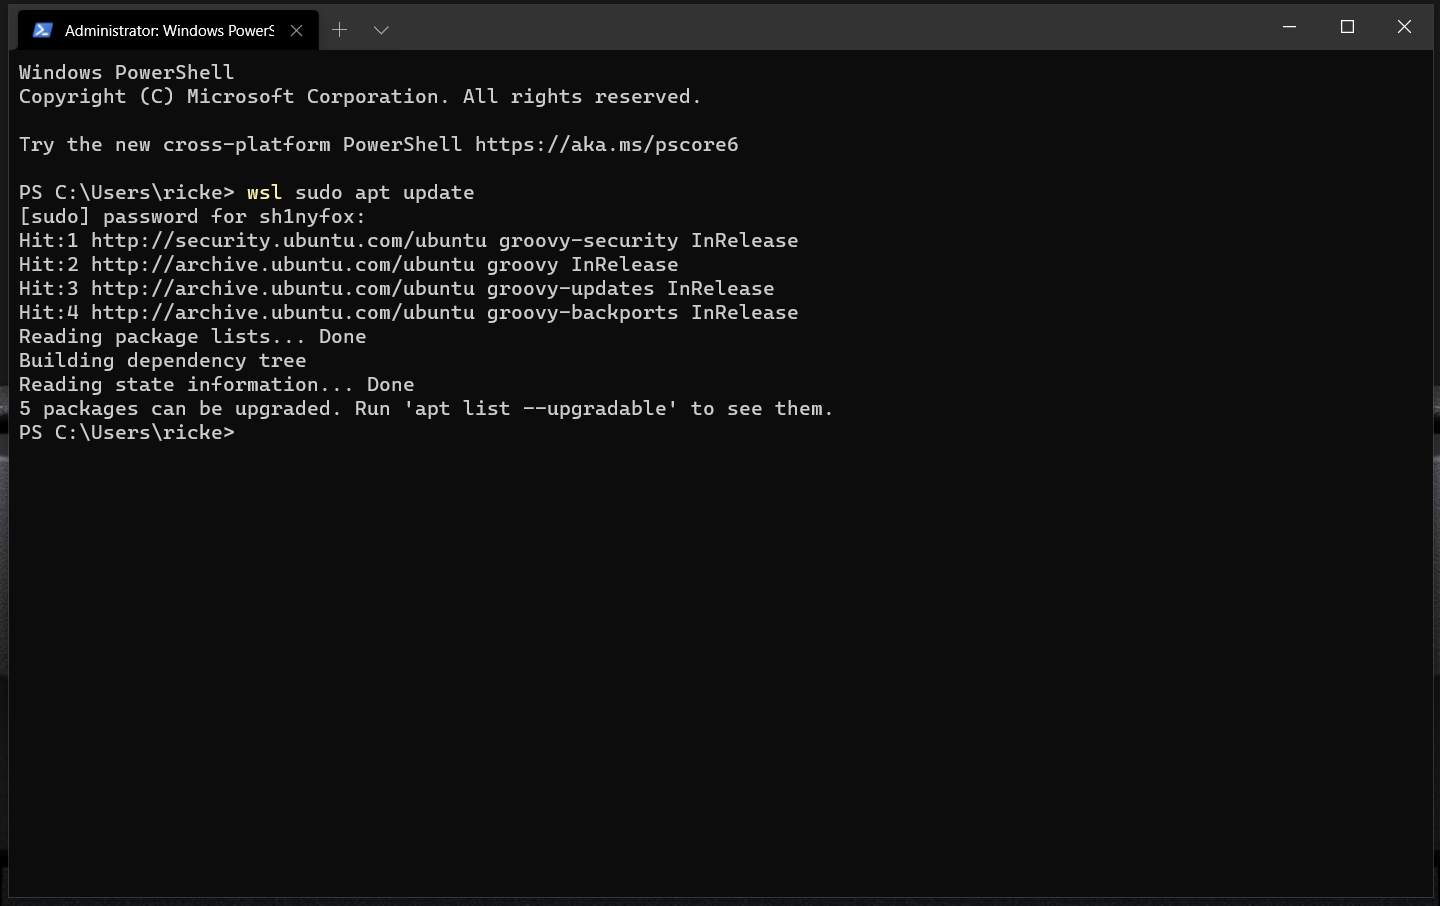
If you just want to run commands in your default Linux distro then you don't need to specify an argument at all. For example, to run the sudo apt update command for Ubuntu if it's your default you would simply enter:
wsl sudo apt update
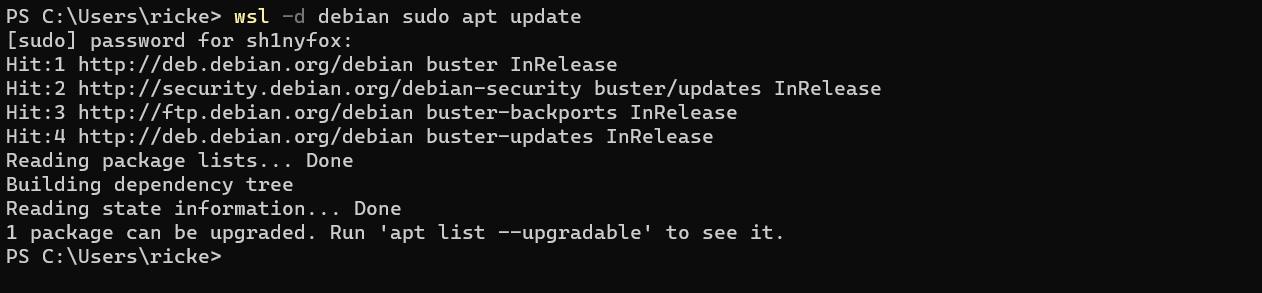
You'll be asked for your Linux password but otherwise it'll execute the command without ever having to leave PowerShell. If you want to target a specific version of Linux then you would target it with an argument and an option. So, using the same command but this time using Debian as an example you would enter:
wsl --distribution debian sudo apt update where --distribution or -d is the argument and debian is your option.
This works for all kinds of commands and can be used to install software and much more, while also supporting standard Linux flags such as -y to auto accept. An example command here where we're installing youtube-dl on Debian again, just using wsl.exe:
wsl -d debian sudo apt install youtube-dl -y
Likewise launching applications and many other regular Linux functions, you can follow the same template. To run as a specific user if you have multiple set up, the template above will also accept --user <username> or -u <username> as well, even when mixed with other arguments.
Managing WSL

There are some basic commands which you'll want to remember, too, that are designed to help you manage your WSL setup. Some of them we've already covered, such as listing distributions and setting defaults, but there are some other handy bits to know.
If you want to export your disribution to a tar file use this template:
wsl --export <distribution> <location> <filename>
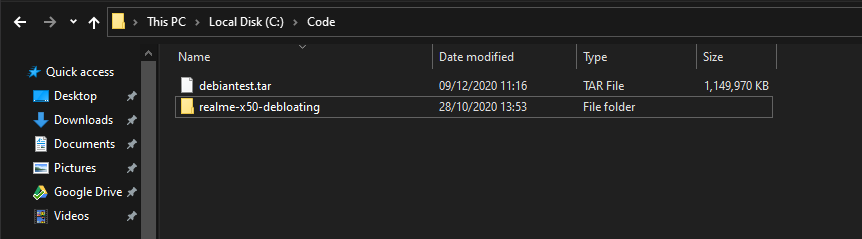
It's important to enter the full path of the file you want to create as well, so in the example command below I'm creating an export of Debian into a folder on my C:\ drive called "Code" and calling it "debiantest":
wsl --export debian c:\code\debiantest.tar
By contrast you can also import a tar file using the same template, substituting the --export argument for --import. To then run the imported distro you would enter:
wsl --distribution <yourdistributionname>
So after importing the "debiantest" file created above, to run it would be:
wsl --distribution debiantest1
Simple!
There's much more you can do with WSL on Windows 10 but this should cover off most of the basics of interacting with it from within PowerShell and managing your installations.


No comments: